
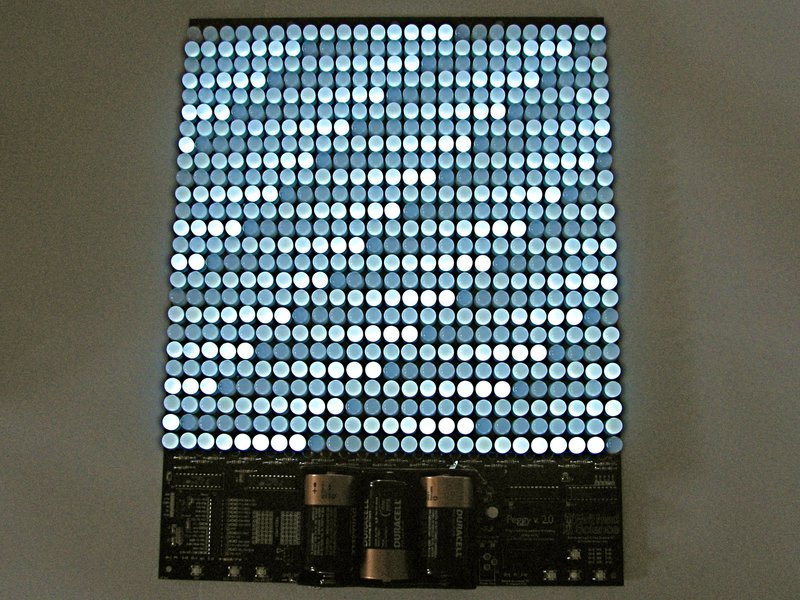


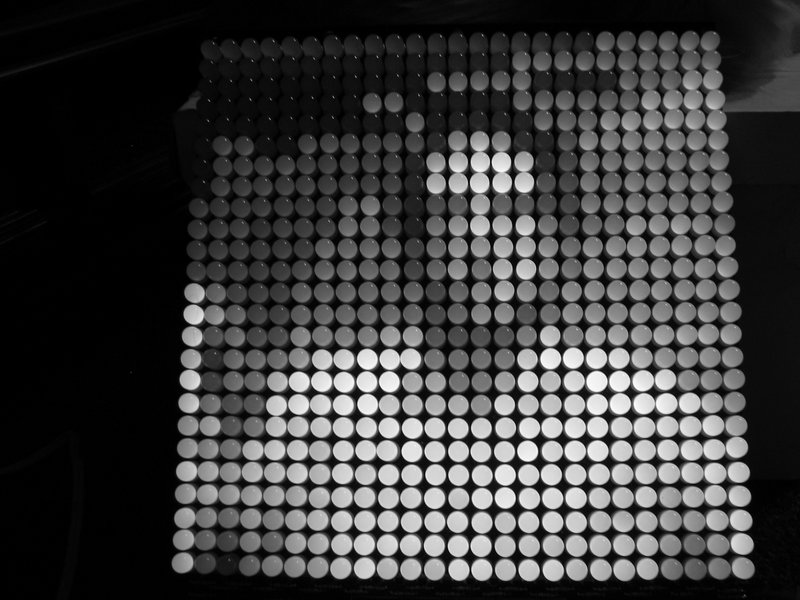
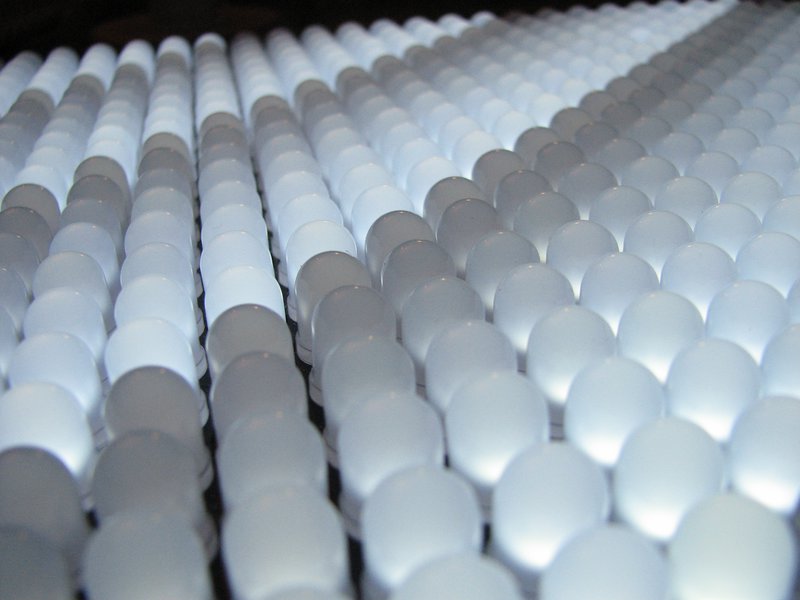
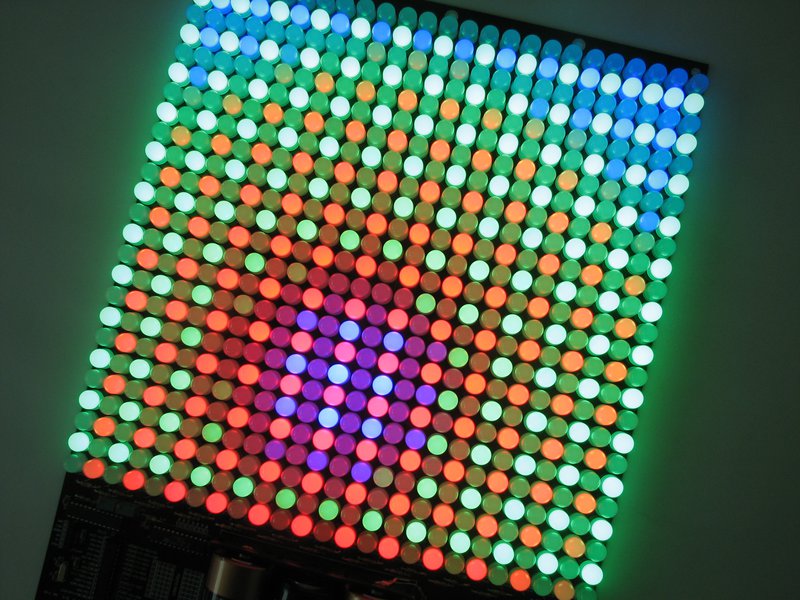
Peggy 2 is our second-generation light-emitting "pegboard" display: a quick, easy, powerful and efficient way to drive a lot of LEDs-- up to 625-- in a big matrix covering almost a square foot of area.
Now shipping in its fourth revision, Peggy 2 is a field-proven Arduino-compatible open-source display, capable of complex animations and stand-alone operation. You can make an LED sign for your shop window, a geeky valentine for your sweetie, one bad-ass website activity monitor, build a simple readerboard, or use it as the centerpiece of your electronic art projects. Your call. It's a versatile, high-brightness display. How you configure it and what you do with it is up to you.
The display can run off batteries (3 'D' cells) or an optional ac adapter, and is designed to drive as many LEDs as you care to solder into the holes. The board can accommodate LEDs in any color and in several of the most common sizes, including 3mm, 5 mm (standard T-1 3/4 size), and 10 mm.
Features
Peggy 2 is a low-power multiplexed controller board that drives up to 625 LEDs of up to 10 mm size. Open-source and hackable. Arduino compatible.
- Peggy 2 supports static display or animation with individually addressable LED locations.
- Uses the popular ATmega328P microcontroller and a 16 MHz crystal oscillator, making it easy to run Arduino code on Peggy.
- Peggy 2 supports programming through a USB-TTL interface, using the popular Arduino software environment-- Just like programming a Diavolino. (You can also use an AVR ISP programmer if you prefer.)
- Peggy 2 boards can be tiled side-to-side without a gap, to make a seamless and wide LED display.
- Designed for stand-alone operation: Once programmed, can run without a computer connection.
- Multiple communication interface options. Can be assembled with a hardware serial port, for easy streaming of data from your computer to the Peggy 2. Alternately, I2C (aka "TWI") interface allows data to be streamed to one or more Peggy 2 boards over a single interface.
- Small "breadboard-style" prototyping area allows other components to be added on board.
Kit Options and Configurations
This is an open-source project. In keeping with that spirit, we are offering these kits and the parts for them in different configurations for flexibility. LED selection is obviously a personal choice; you get to pick your own LEDs separately. AC adapters, extra buttons to put "arrow" keys on your Peggy, and programming options are also available.
- The Peggy 2 Kit itself includes the circuit board, preprogrammed microcontroller, battery holder, power switch, two buttons, rubber feet and all other components needed to make the pegboard display base, along with full color printed instructions. Just add batteries and LEDs.
- Option: LED sets. Either to fill up Peggy uniformly for your programmable display or to fill it part way or with different colors for making pixel art. We make specially selected 640-packs of our very best (i.e., brightest and most uniform) 10 mm LEDs available. These are recommended if you plan to fill *every* LED location with an LED and want a uniform-looking display. These big LED packs are super-cool, but it's a lot of LEDs to solder! We also have a 700-pack of 175 each Red, Blue, Green, and White 10 mm superbright LEDs with diffused lenses; the "RGBW" assortment. If you want multiple colors, you can use this bundle and populate the Peggy 2 with 2x2 square pixels of red, green, blue, and white LEDs. (See example here.) A discount applies when you bundle a 640-LED pack with your Peggy 2 kit. (Otherwise, "Mix and Match" LED selections are available here. You can also populate the Peggy 2 with matched 640-packs of 5 mm clear-lens LEDs, available here. (Clear lenses give better visibility at a distance, at the expense of viewing angle.) Standard single-color LEDs of all sizes up to 10 mm are compatible with the Peggy 2, and sizes can be used in a mixed array for interesting visual effects. Please note that self-flickering LEDs are not recommended for use with the Peggy 2. Common-anode RGB LEDs can be used (with some solder gymnastics), but each RGB LED takes up three LED locations on the Peggy 2's grid.
- Option: AC Adapters. Peggy displays are designed to run on batteries; Peggy kits come complete with a 3 x D-Cell battery holder. You can also drive Peggy with a "wall-plug" regulated AC adapter. International version available here, and US version available here.
- Option: Additional button pack. A package of five extra miniature tactile button switches that you can add to Peggy 2. Could come in handy if you're reprogramming Peggy to be a game. Four arrow keys and a "fire" button? Available here.
- Option: Programming interface. To reprogram your Peggy 2, you'll need some sort of interface. For Arduino-style programming (which we recommend), we offer the Adafruit FTDIfriend.
Printed circuit boards
The centerpiece of the Peggy 2 kit is a giant, beautifully made printed circuit board. It is 11.320x14.875" (28.75x37.78 cm) in overall size, two-sided with plated through holes, and 0.093" (2.4 mm) thick for incredible stiffness compared to regular (0.062" thick) circuit boards.

|

|

|

|
Building it
Peggy 2 is sold as a soldering kit [?]. Basic electronic soldering skill is required, and you provide basic soldering tools: a soldering iron + solder and small wire clippers. No additional knowledge of electronics is presumed or required. Easy "through-hole" construction and clear, full-color printed instructions. Assembly time: 1-2 hours plus time to solder the LEDs themselves. Not sure if this kit is for you? Download the full instructions, here (10 MB PDF File). An extended introduction to the project and its design is available here.
Programming it
Peggy comes pre-programmed with a routine that lights up all the LED locations, so you can make a basic LED sign or display without any programming at all.
Of course, with a little time, Peggy 2 can also do a whole lot more. The easiest way to get started is through the Arduino software environment, for which you will need a USB-TTL interface. You can download the Peggy2 Arduino Library (along with several example programs) here. The library is an evolving open source project and your own code contributions are welcome.
You can also find a technical discussion of programming Peggy 2 here, along with code examples for use with AVR-GCC.
You can find a list of Peggy 2 resources here, including links to of code examples and hardware documentation.
About our kits
We take great pride in our kit designs; we believe in clear instructions, unambiguous labeling, goodies, and including a few extras of most small, easy to lose and/or break components. Assembly of the boards is pretty straightforward if you like to solder; it basically requires stuffing the components in the boards and soldering (a lot of) easy through-hole components. You should have prior experience soldering and basic soldering tools. Read more about what to expect in our kits here.
Lead Free
Peggy circuit boards, components, LEDs and power supplies are all RoHS compliant (lead free). If you're building one of our kits, you'll find that everything works well with either regular or lead-free solder-- whichever you care to use.
Suggested Accessories:


You may also be interested in...


